


istockphoto.com
Spark plug replacement is an essential maintenance requirement if you want your vehicle to keep running smoothly. This is because spark plugs are responsible for creating an arc of electricity that ignites the air/fuel mixture inside the engine and ultimately provides the energy necessary to turn the crankshaft and move the vehicle. So, learning how to change spark plugs is important for any DIYers who want to tackle their own automotive maintenance.
Changing spark plugs isn’t as straightforward as changing a battery, but it’s simple enough for most DIYers to be able to learn how to remove spark plugs and how to install spark plugs in their own vehicles, saving time and money that would otherwise be spent at an automotive repair shop. Follow these steps to learn how to replace spark plugs successfully.
BEFORE YOU BEGIN
Spark plugs naturally wear out over time, though they can typically last for about 20,000 to 30,000 miles. Some spark plugs can last up to 100,000 miles, depending on the vehicle or manufacturer. Check the owner’s manual to know for certain the limitation of your vehicle’s spark plugs.
Other than mileage, look for signs of worn-out spark plugs, such as trouble starting the vehicle, lower fuel efficiency, poor acceleration, the check engine light coming on, or the car’s engine making rough sounds when it’s idling. If you notice any of these signs, you should consider replacing spark plugs in your vehicle.
STEP 1: Park the vehicle and locate the spark plugs.
Make sure that the vehicle is parked on a level driveway or in the garage so that you have enough space to work. Turn it off, remove the keys, put the parking brake on, and allow the engine enough time to cool before beginning to work on the vehicle. When the engine has had time to cool down, open the hood, disconnect the negative battery terminal, and look for a bundle of four to eight wires leading to the engine compartment.
Some vehicles have engine covers that you will need to remove to access the spark plugs. Check the owner’s manual for the exact location of the spark plugs, the number of spark plugs, the correct socket size, and the suggested gap size for the spark plugs. It’s also a good idea to use a vacuum or air compressor to clean the area around the spark plugs to prevent dirt, grime, and debris from falling into the spark plug pocket. Wear gloves, safety glasses, closed-toe shoes, long pants, and a long-sleeve shirt to stay safe while you work.
STEP 2: Label and inspect the leads.
It’s important that when you are learning how to change spark plugs and wires that you ensure the leads are properly labeled to avoid mixing them up. If you install the spark plugs incorrectly, the engine won’t work properly, causing cylinder misfires, as well as potential damage to the O2 sensor.
Avoid this problem entirely by labeling the leads or wires to keep track of the correct order. Also, take the opportunity to inspect the leads for cracks or other damage.

Photo: istockphoto.com
Related: How to Change a Car Battery Like a Pro
STEP 3: Remove the old spark plugs.
Spark plug removal is done in two main steps. First, remove the spark plug boots one at a time and double-check to ensure that they are each properly labeled. The boot is often made of silicone and it sits at the end of the lead or wire. By grabbing this insulator instead of pulling the wire itself, you can avoid tearing the lead.
Use a ratcheting socket wrench with a socket wrench extension bar and a spark plug socket to remove the spark plugs. A spark plug socket often has a magnetic base that helps to keep the spark plug secure during removal and installation, so it’s a necessary accessory for quick, efficient spark plug replacement.

Photo: istockphoto.com
STEP 4: Check the wires and clean the wire terminals.
With the old spark plugs removed, it’s advised to check the wires for any significant signs of wear, cracking, or any other damage. Also, check the wire terminals and use a fine wire brush to clean away any debris that has built up on the terminal. This quick inspection and cleaning of the leads goes a long way toward ensuring that your spark plugs work correctly after they are reinstalled.
STEP 5: Inspect the old spark plugs.
If you are planning to change all of the spark plugs regardless of their condition, then you can skip this step, but it’s advised to inspect the old spark plugs to determine if they can still be used before replacing them. Check the center electrode of each spark plug to make sure it is relatively even and shaped correctly, then use a spark plug gap tool to measure the gap between the center and side electrodes.
You can refer to the owner’s manual to determine the correct spark plug gap. Replace the spark plugs if they are misshapen, old, or worn.
Related: How to Change Windshield Wipers Yourself
STEP 6: Install the new spark plugs.
A spark plug gap tool is necessary to double-check the gaps on the new spark plugs and adjust them to the correct gap distance before installing the spark plugs in the vehicle. Use an extension bar and spark plug socket to install and gently hand-tighten the new spark plugs. The plugs should thread in smoothly, so if you encounter any difficulty, loosen the spark plug and then try again.
Once the spark plugs are hand-tightened, use a torque wrench to tighten the spark plugs to the manufacturer-specified torque level. Next, use the labels to correctly reattach each plug boot to the right spark plug. Clean up any tools from the engine or the surrounding area.
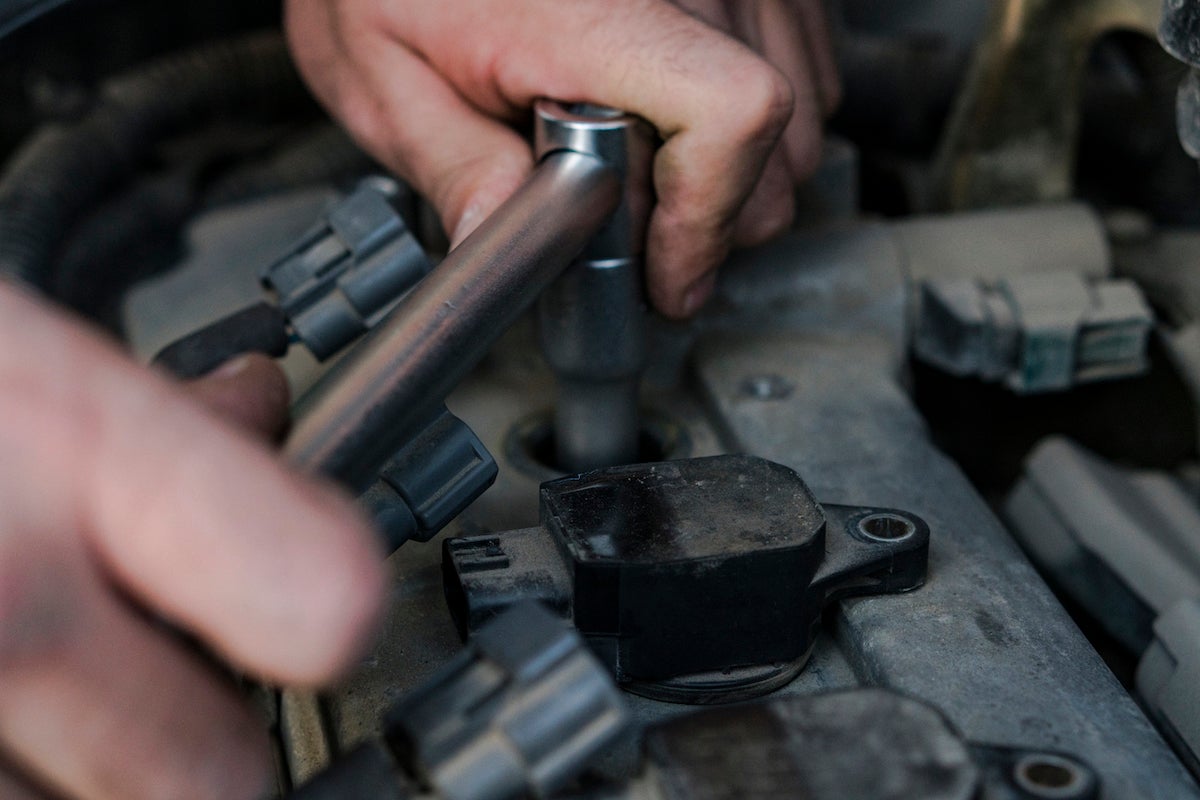
Photo: istockphoto.com
STEP 7: Start the engine to test the new spark plugs.
Check to make sure that you have removed all of the tools before closing the hood and hopping in the vehicle. Turn on the engine to test the newly installed spark plugs. If everything went correctly during the installation process, the car should run normally, but if the spark plugs were installed out of order, they were not installed tightly enough, or if they were overtightened, then the engine might misfire.
If you notice any of these signs of incorrect installation, turn off the engine and check your work. Correct any mistakes you see and test the engine again. If the problem persists, take the vehicle to a local automotive repair professional to avoid damage to the engine.
Extend spark plug life with regular maintenance.
While spark plugs should be replaced at the manufacturer-specified intervals, it’s still important to conduct regular maintenance to be certain that the spark plugs won’t need to be replaced before this point. One of the best things you can do to extend the life of your spark plugs is to keep the engine running smoothly.
Regular tune-ups and quick repairs help to prevent wear and tear on the system. Fluid leaks from the top of the engine can contaminate the spark plugs, so it’s necessary to fix any leaks as soon as they occur to avoid having to replace the spark plugs prematurely.

Photo: istockphoto.com
Related: How to Change a Flat Tire


